Showing posts with label Editing. Show all posts

Monday, 19 January 2015

Editing Process


 For the scene where my artist is at a party I had to use the tool 'image mask' as I filmed her and the people dancing in the back ground separately. I simply placed the footage of her on top of the dancers on my timeline, went onto 'image mask' and cropped the image by removing the sides so it looks like they were at the same place. I chose to do this because I wanted to slow the dancers down to show that although she's physically there, mental she's somewhere else as the line at this point says "fooling everyone, telling them she's having fun" suggesting that she's been to so many parties that there not even fun for her anymore.


Below is a screenshot of myself saving my footage into my documents before I encoded them in the Adobe Encoder programme. This is crucial in the editing process because unencoded footage takes forever to render on Final Cut so this is good to help save time later on.


For this particular clip I wanted my artists inner turmoil to relate to the audience which is why  I decided to add the echo effect to her which basically delays her movements, which gives the impression that there are loads of copies of her when she moves. This looked really effective in the video and is a common effect used in most music videos.


Saturday, 27 December 2014

Editing Process


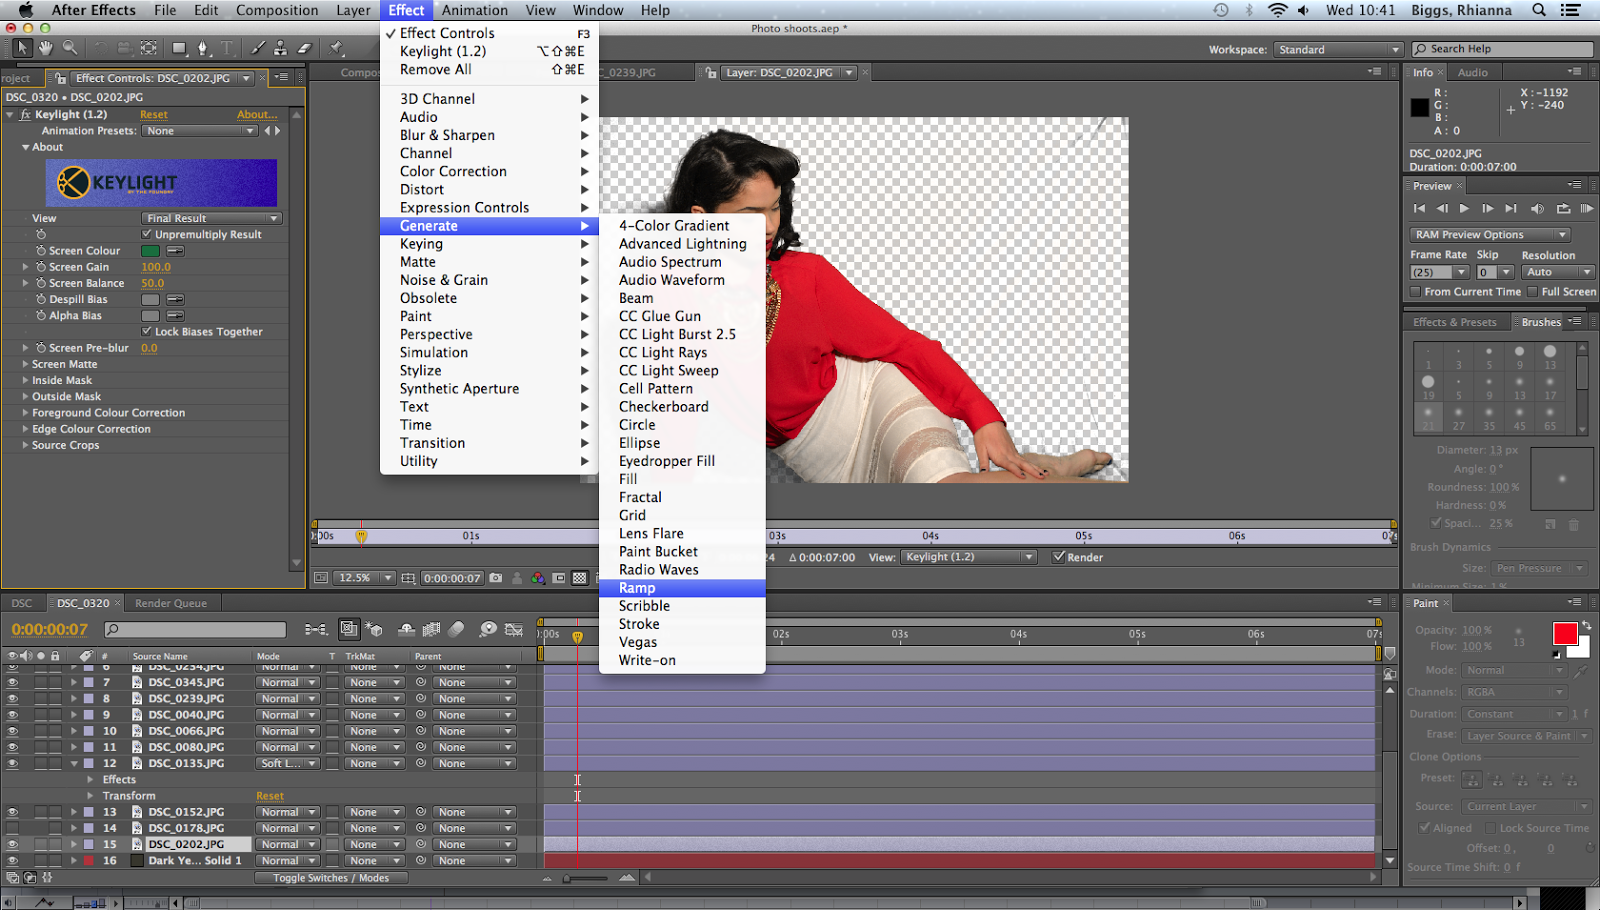
I used after effects to block out the green screen. I clicked on effects on the top bar, keying, followed by the keylight option. After removing the green screen I was able to change the image to screen matte and change the lighting using black and white which made the background fully transparent and the image bolder. I then softened the edges to make them cleaner. I repeated this process with all my other images.
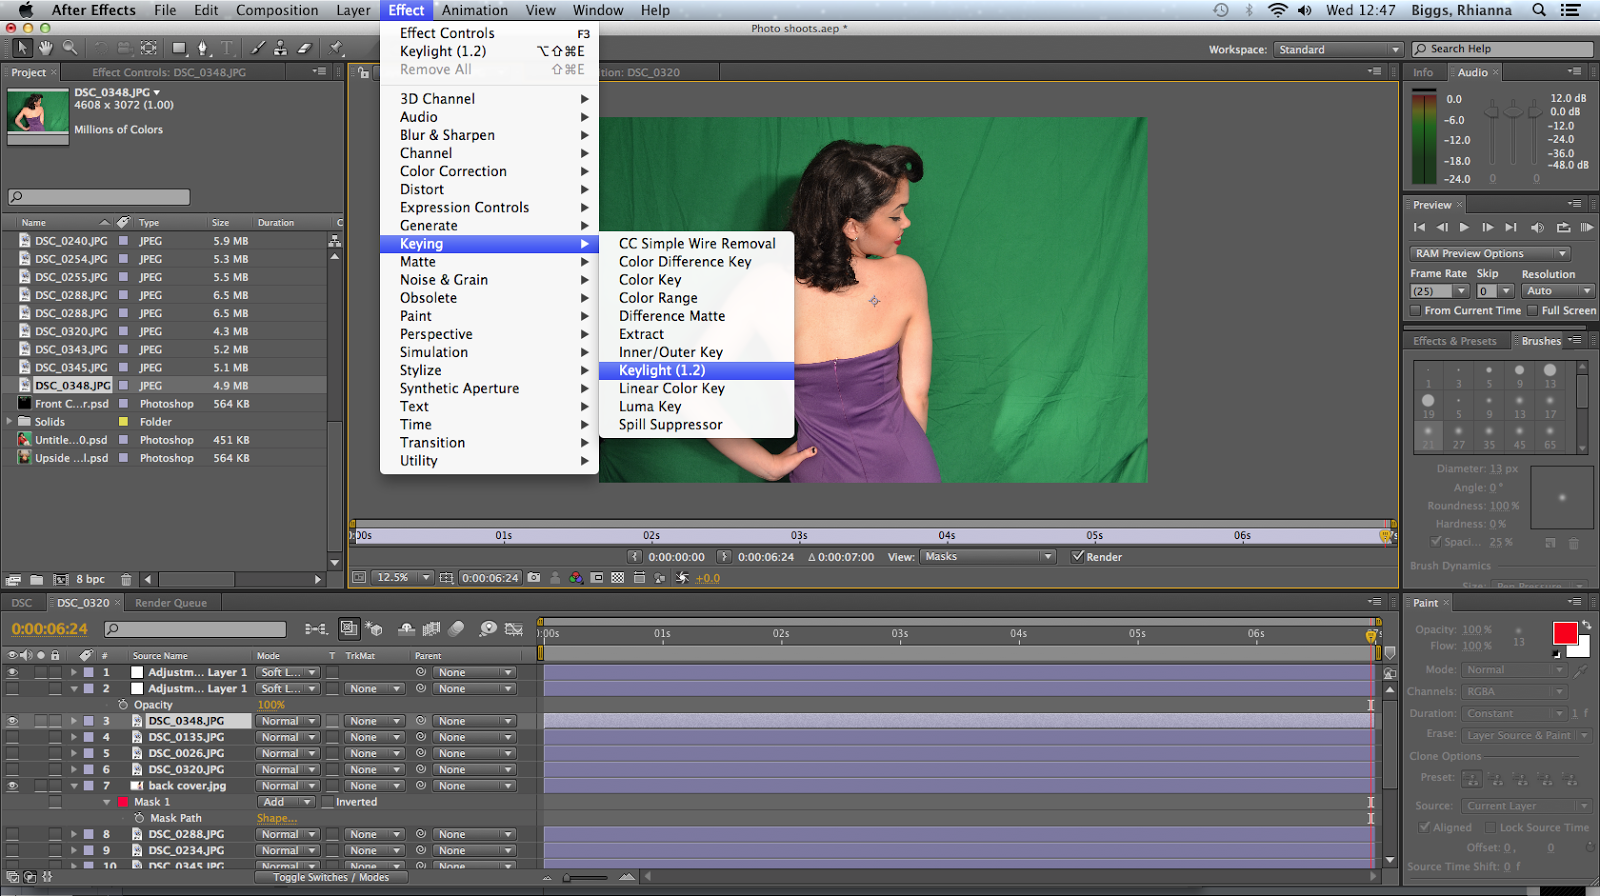


Here is the before shot of my picture before I removed the green screen.

This is the after shot of my picture after I removed the green screen. As you can see there are a few creases on the left hand side of the image and that is due to there being creases in the green screen when I took the picture. Thankfully, this issue was easily solved as I was able to cut around it using the pen tool.


After I had edited my images I had to convert it into a PNG sequence in order to keep the transparent background, then I added it to the render queue in order to use it in Photoshop.
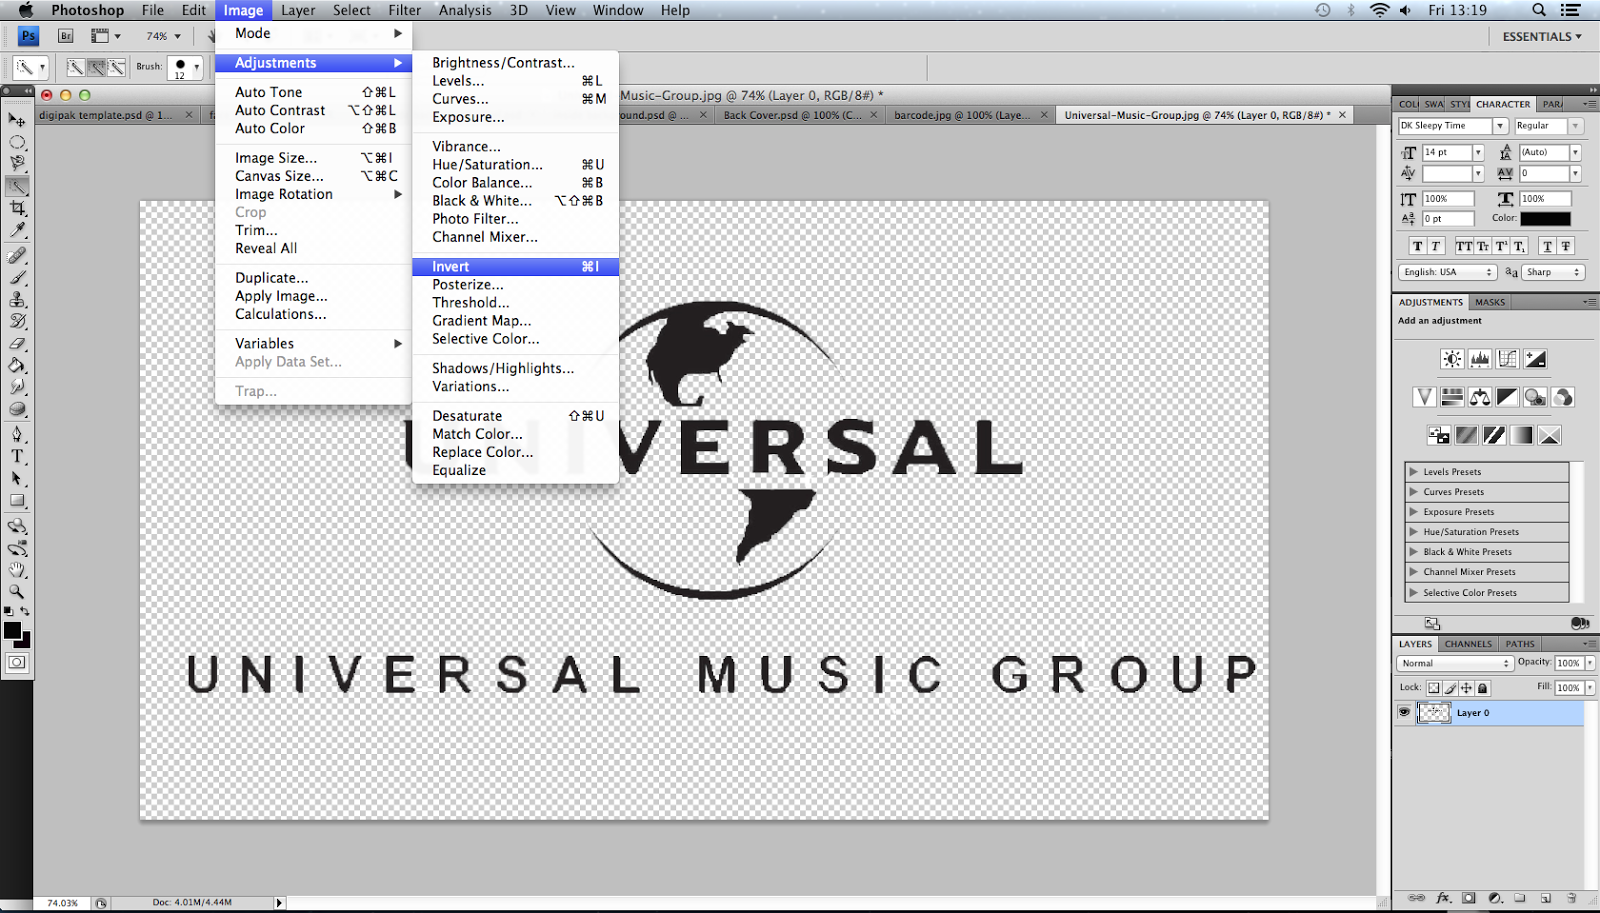


This is the logo for the record company that I have chosen to represent my artist. However, I had to edit it before I added it to my album cover and my poster as it was originally on a white background and I didn't feel it looked professional as my background was red and black so I had to use the Magic wand tool in Photoshop in order to remove the white background and make it transparent. After doing this I then had to use the adjustment tool and invert the writing to white instead of black so I could see the writing clearly on my poster and album cover.


This is a screen shot taken mid-way of my editing process of my digipak. I've chosen to fragment my artists body by having one panel just be a close up of her face and another panel just showing her legs to illustrate the brokenness of my artist, this is also a theme that will feature in my music video as after researching similar artists, especially ones in the indie genre, they tend to write songs about vulnerability and the feeling of emptiness or loneliness so I thought it would be fitting to include this in my DigiPak.

From past feedback on my previous album cover I was advised to have a more interesting background as it was previously just a red background,which was rather bland so I decided to add a background, then I edited it by adding colour to give it more depth. Moreover, due to this change I had to add this background to all the panels in order to keep it consistent.

Friday, 28 November 2014

Editing stages - After Effects and Photo Shop


This screenshot shows me using the pen tool to erase everything else in the scene.


Below is a before and after shot for the inside of my DigiPak. I used After Effects to key out the green screen and to add effects to the image such as the colouring.


To undergo this edit I chose to use the programme 'After Effects', as I'd never really used it before I struggled at first to get the effects on the images. I learnt how to 'key out' the green screen to make the background transparent. I then played around with the colouring of the image by giving a reddish tint to give the image more edge and depth. After doing this I then imported the picture onto photoshop, another editing programme, to remove any blemishes on my artists face, I also gave her a beauty mark as I thought it was rather fitting for the character of Liberty Haze.


Wednesday, 17 September 2014

Dancing Animals Edit


The task set was to create a music video from the dancing tiger and shark footage. I had to find the track to accompany it, choose from the available shots and then edit the video by adding effects. This was good task because:


  • I  re-familiarised myself with Final Cut 
  • Learnt how important cutting to the beat is "MTV style Editing"- Vernalis
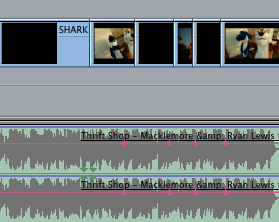
  • Learnt how to edit to the beat by using markers
  • Through the editing I was able to create a narrative