How did you use new media technologies in the construction and research, planning and evaluation stages?
Throughout my A2 year, I have used a wide variety of technology to throughout this process. I have used various types of software and devices to assist my stages of research, planning and evaluation.

YouTube has played a massive part in both my AS and A2
years. As YouTube is a popular video sharing website I thought it would be best
place to upload and publicise my videos. Music video drafts, feedback, behind
the scenes and final cuts were all uploaded onto my blog through the use of
YouTube. Thus, allowing everyone in the world that has access to the internet
the ability to consume my video across different types of platforms and devices.
Moreover, due to the development of media technologies, YouTube has become ‘the
place’ that all artists go to, to publish their own music videos before TV
shows such as Kiss or MTV. This then made the research stages of my process
that much simpler as I was able to use it to watch existing music videos,
taking inspiration from them and the conventions they use.

Blogger was crucial in the planning stages of my production
as I used it as a platform for documenting my work. My blog contains posts
dating back to the start of my A2 course, recording all the work I have done in
pre-production, production and post-production stages of the creation of my
music video, thus stating my progress throughout the year. Each of my posts
represents another piece of work, under the labels: planning, evaluation,
research, ancillary tasks, music video, drafts. I’ve worked on this site many
times before therefore I was familiar with using the site, moreover, I found
that sites such as blogger are really effective and valuable in recording my
work as I can access it from any device, whether I’m at home, at school or out
on my phone, thus making it more practical.
 Within my music video I had a few tracking shots of my artist, as I wanted to create a sense that my artist was being watched, so my fans felt like they were flies on a wall, watching her live her life. In order to be able to do this I had to use a Steadicam. This permitted me to attain an assortment of smooth, extensive camera movements. Which were essential in making my final product look professional enough to compete with other industry standards.
Social media was an essential platform for me to publicise my work. I was able to use websites such as Facebook and twitter to gain attention for my music video and receive feedback from the public, suggesting ways in which I can improve or amend parts of my music video or my ancillary tasks, this was proven to be a really effective exercise.

Below is a before and after shot for the inside of my DigiPak. I used After Effects to key out the green screen and to add effects to the image such as the colouring.
To undergo this edit I chose to use the programme 'After Effects', as I'd never really used it before I struggled at first to get the effects on the images. I learnt how to 'key out' the green screen to make the background transparent. I then played around with the colouring of the image by giving a reddish tint to give the image more edge and depth. After doing this I then imported the picture onto Photoshop, another editing programme, to remove any blemishes on my artists face, I also gave her a beauty mark as I thought it was rather fitting for the character of Liberty Haze.
 I have used a wide variety of technologies to help me in each phase of this process, using the array of different hardware and software accessible for me to create my products. The media technologies I have used have impacted my work massively through the quality, exhibition and end product of all of my work.


Below is a screenshot of myself saving my footage into my documents before I encoded them in the Adobe Encoder programme. This is crucial in the editing process because unencoded footage takes forever to render on Final Cut so this is good to help save time later on.

For this particular clip I wanted my artists inner turmoil to relate to the audience which is why I decided to add the echo effect to her which basically delays her movements, which gives the impression that there are loads of copies of her when she moves. This looked really effective in the video and is a common effect used in most music videos. Thanks to the development of technology I was able to be far more creative and artistic with my filming and editing.
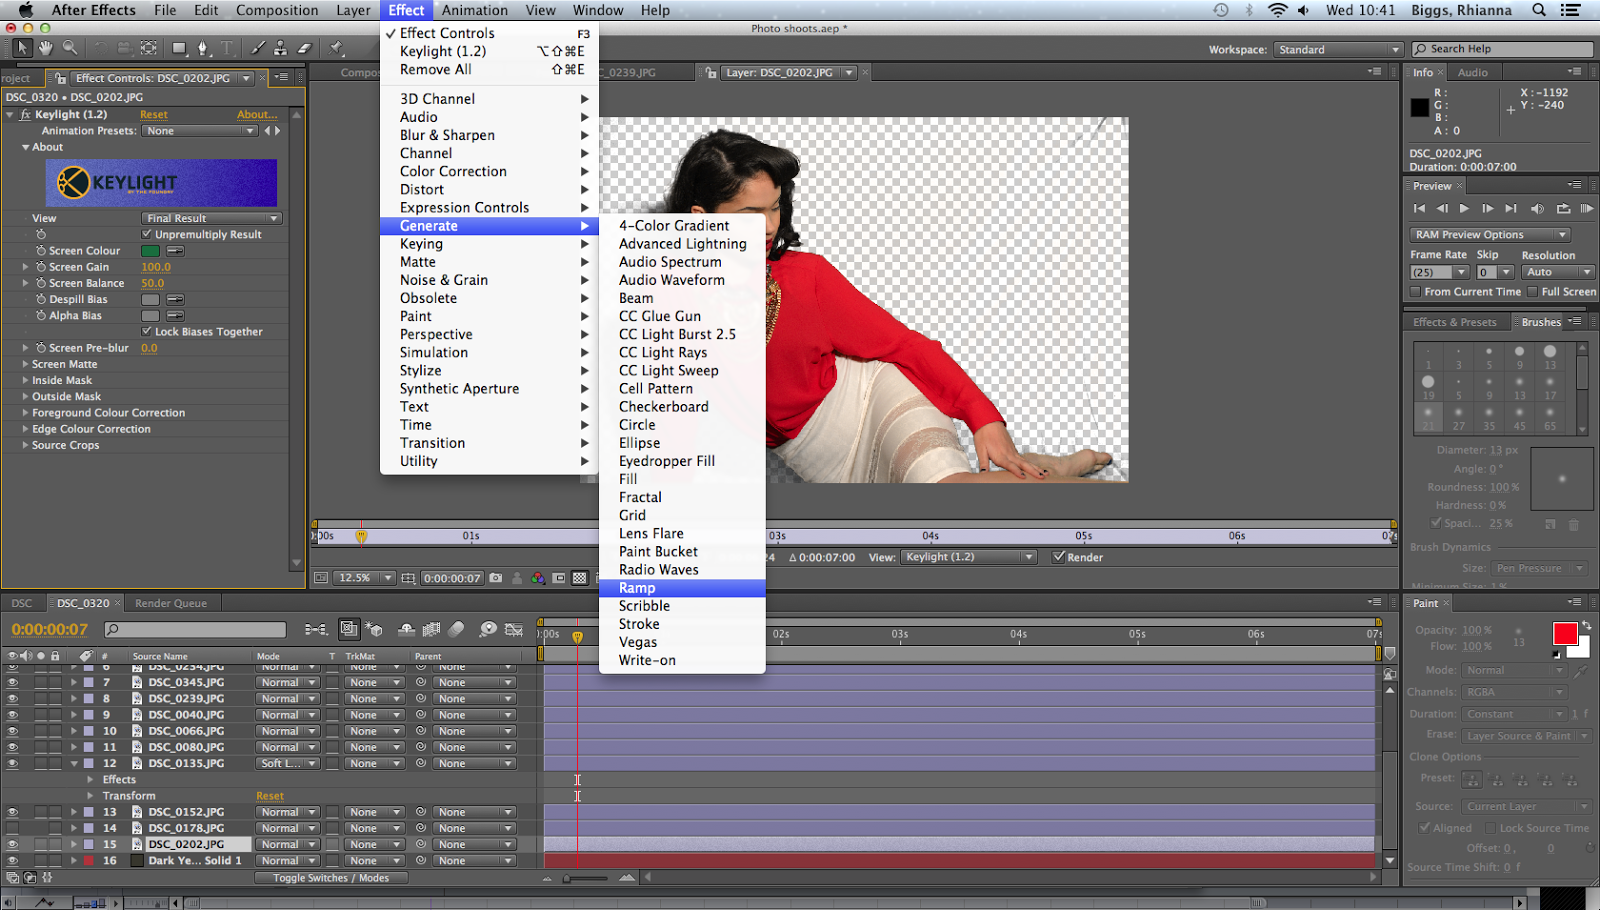
I used after effects to block out the green screen. I clicked on effects on the top bar, keying, followed by the keylight option. After removing the green screen I was able to change the image to screen matte and change the lighting using black and white which made the background fully transparent and the image bolder. I then softened the edges to make them cleaner. I repeated this process with all my other images.
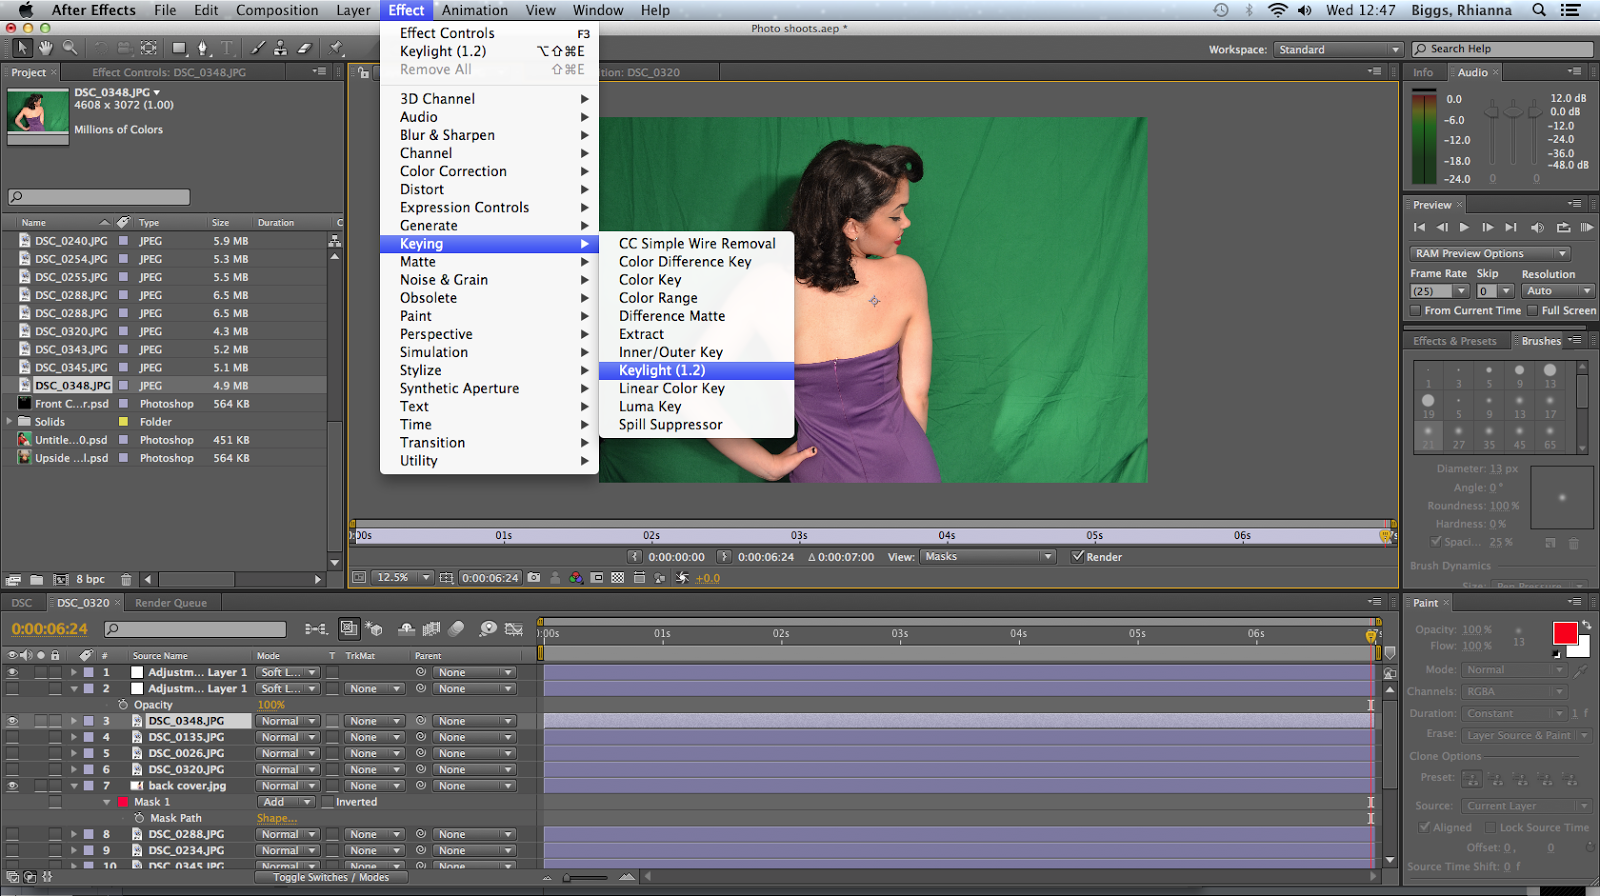
Here is the before shot of my picture before I removed the green screen.


After I had edited my images I had to convert it into a PNG sequence in order to keep the transparent background, then I added it to the render queue in order to use it in Photoshop.
No comments:
Post a Comment